Introduction
Programming your garage door remote can seem daunting, but it’s a task that most homeowners can handle with the right guidance. In Downey, CA, having a fully functioning garage door is essential for convenience, security, and protecting your vehicle. In this article, we’ll walk you through the process step-by-step, ensuring you can program your garage door remote with confidence.
Understanding Your Garage Door System
Before diving into programming, it's important to understand the key components of your garage door system:
- Garage Door Opener: The motorized unit that opens and closes the door.
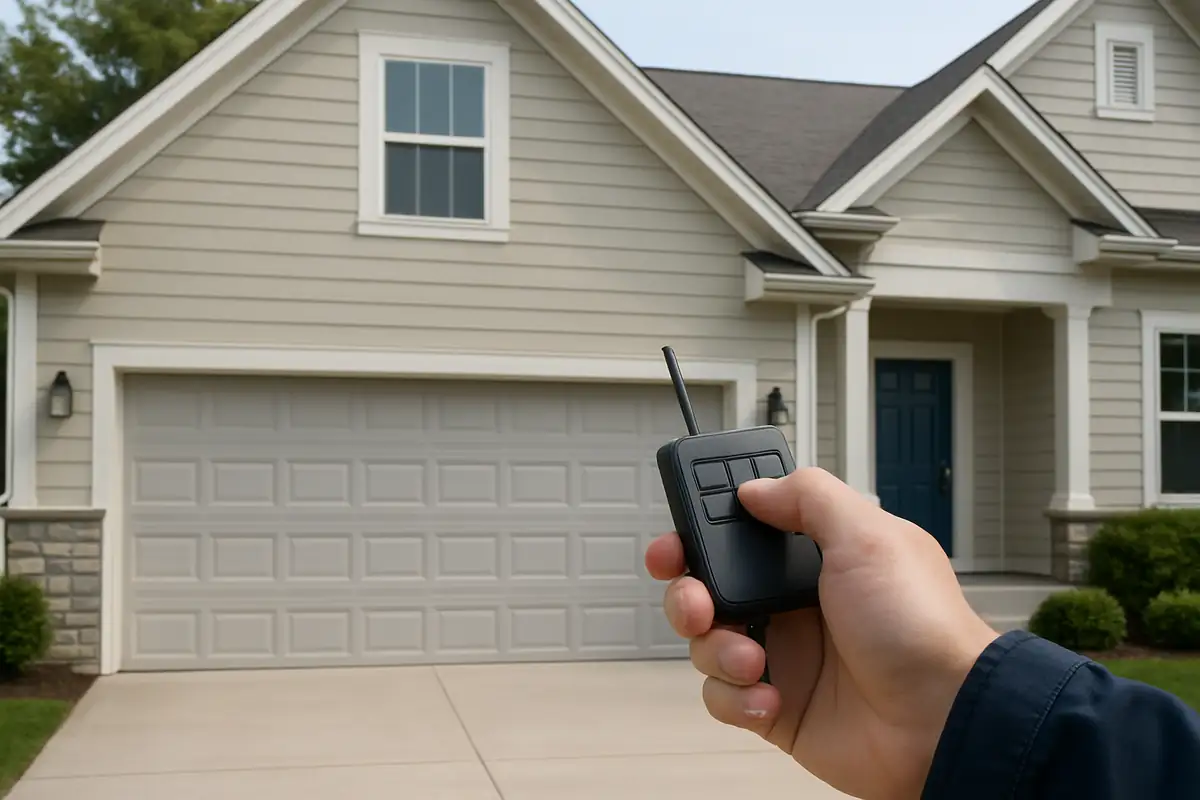
- Remote Control: A handheld device that sends signals to the opener.
- Safety Sensors: Devices on either side of the door that prevent it from closing when an object is detected.
Types of Garage Door Remotes
There are generally two types of garage door remotes:
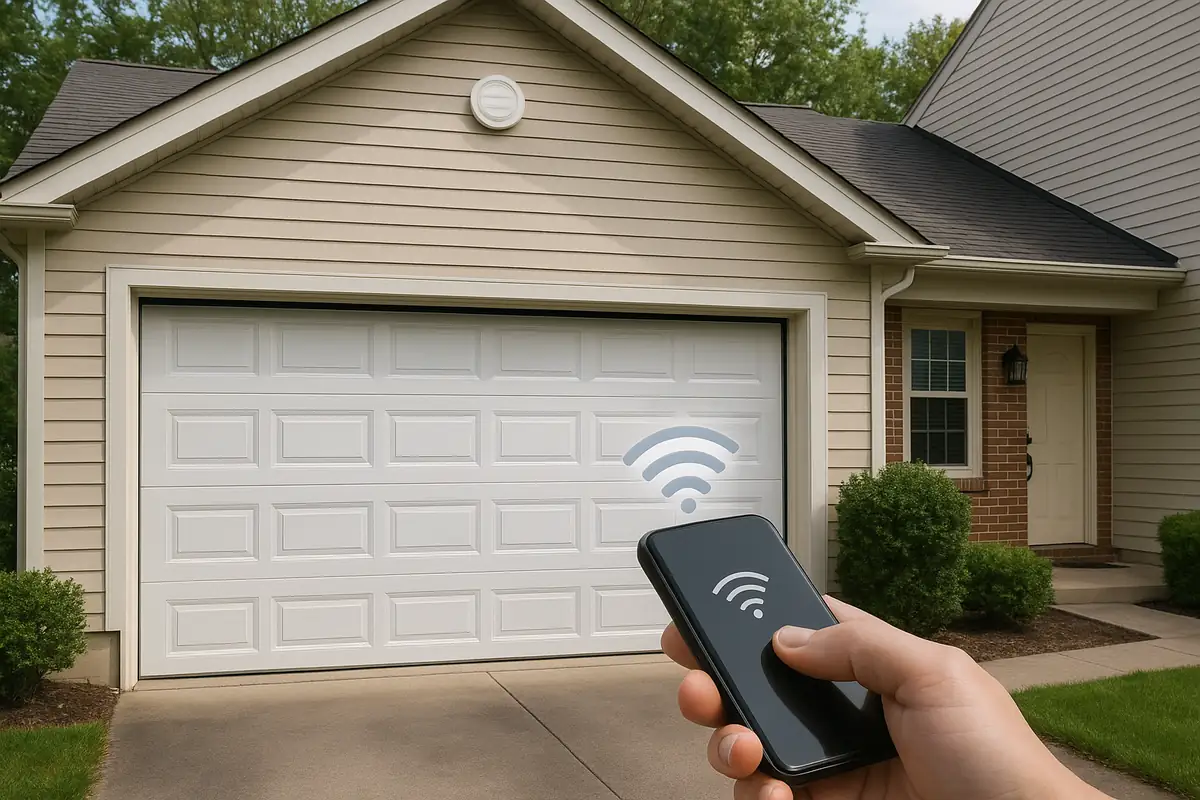
- Single-Button Remotes: Designed for one garage door.
- Multi-Button Remotes: Can control multiple garage doors or gates.
Why You Might Need to Reprogram Your Remote
Reprogramming may be necessary in several situations:
- Changing the batteries in your remote
- Purchasing a new remote
- Experiencing interference from nearby devices
- After a security breach or if the remote is lost
Step-by-Step Guide to Programming Your Garage Door Remote
Programming your garage door remote can vary depending on the make and model of your opener. However, the general process remains similar across most systems. Here’s how to do it:
Gather Your Tools
- New remote control (if applicable)
- Step ladder (for ceiling-mounted openers)
- Owner’s manual (for specific instructions)
Step 1: Locate the Learn Button
Most garage door openers have a 'Learn' button. This button is typically located on the back or side of the motor unit.
Step 2: Press the Learn Button
Press and release the 'Learn' button. The indicator light should begin to blink, signaling that the opener is in 'learn mode.'
Step 3: Press the Remote Button
Within 30 seconds, press and hold the button on your remote that you wish to use to operate the garage door. The opener light will blink or you may hear a clicking sound, confirming that the remote is programmed.
Step 4: Test the Remote
Once programmed, test the remote from a distance to ensure it works properly.
Troubleshooting Common Issues
If your remote isn’t working after following the steps above, consider:
- Checking the remote's batteries
- Ensuring you are within range of the garage door
- Inspecting for any physical damage to the remote
- Resetting the entire system if interference is suspected
Important Safety Tips
When dealing with garage doors, safety should always be a priority. Here are some safety tips:
- Never place your fingers near the door’s moving parts.
- Make sure the area is clear before operating the garage door.
- Regularly check the safety sensors for proper functioning.
Statistics & Facts about Garage Doors
Did you know that:
- Approximately 1 in 15 garage doors can malfunction due to a faulty opener or remote?
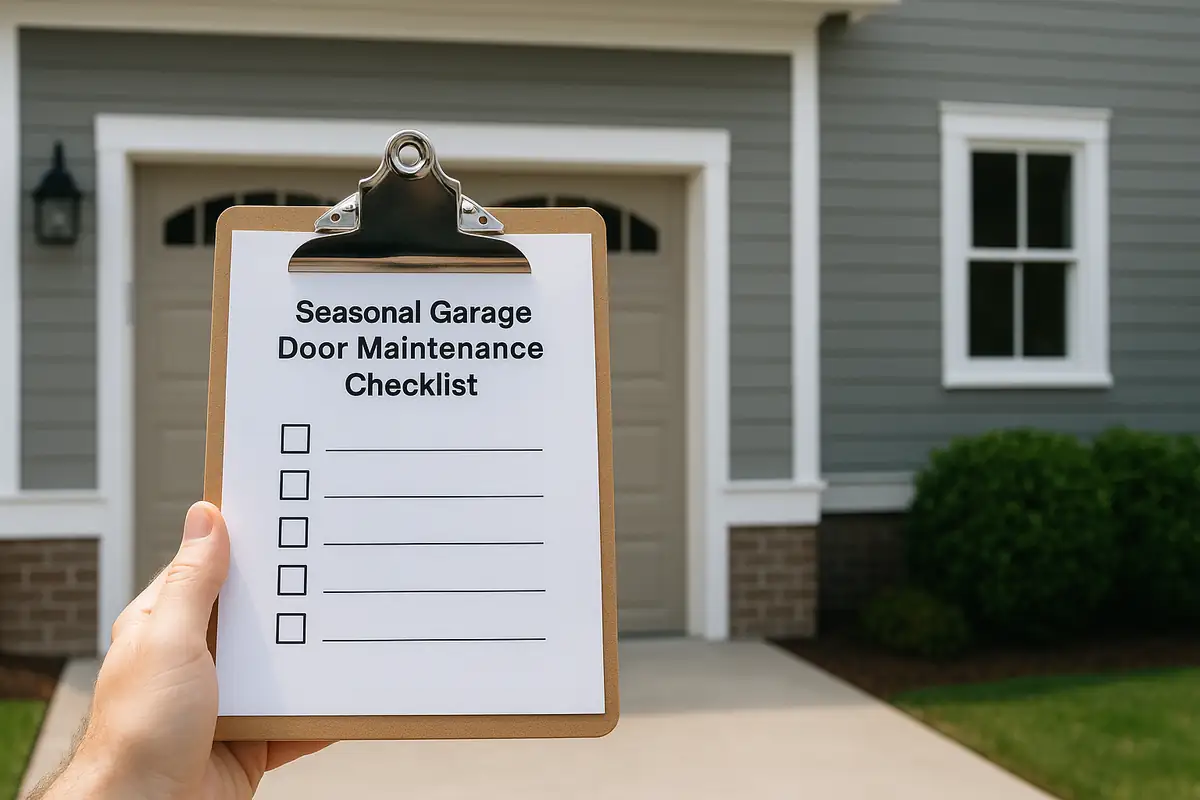
- Regular maintenance can extend the lifespan of your garage door by up to 30%?
Conclusion
Programming your garage door remote doesn't have to be a hassle. By following the steps outlined above, you can enjoy the convenience and security of a functioning garage door in no time. If you encounter any issues, or need professional assistance in Downey, CA, don’t hesitate to reach out to California Garage Door Repair. Our skilled technicians are here to help you with all your garage door needs!
Explore More Resources
Related Articles
Service Areas
We proudly serve Downey, Vinvale, Workman, Studebaker, Bell Gardens and more areas.
Our Services
Professional garage door repair, spring repair, opener installation and more. View all services →